
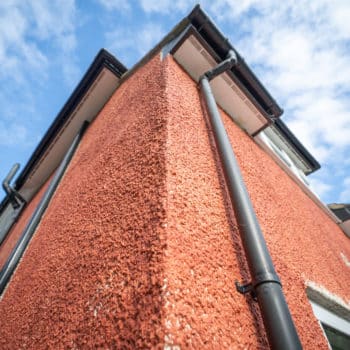
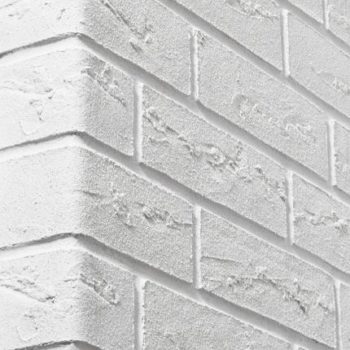
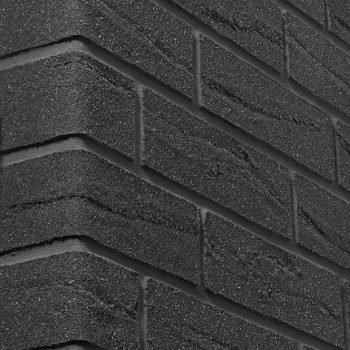
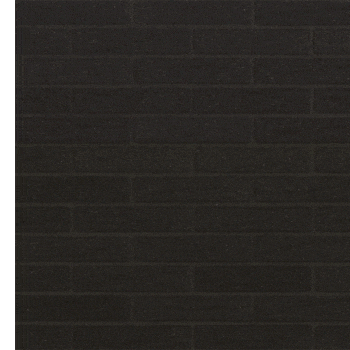
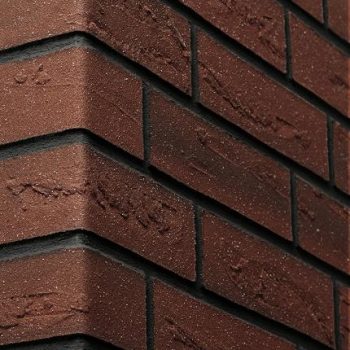
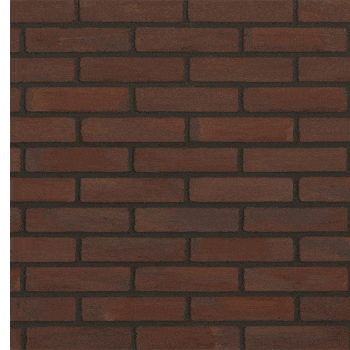
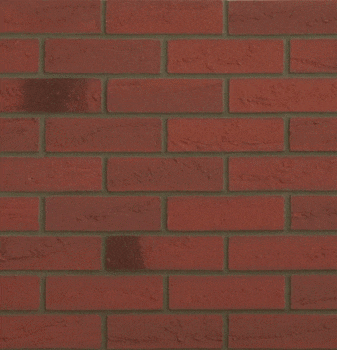
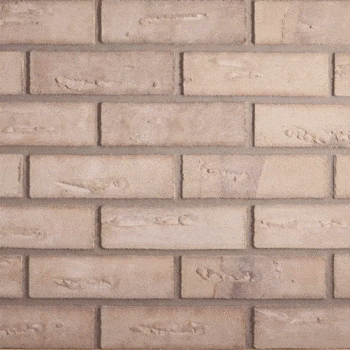
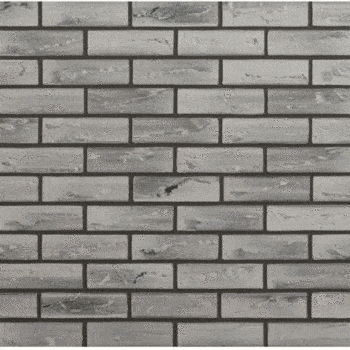
Acrylic Brick Slips are a striking architectural feature that seamlessly blends with insulated or non-insulated systems. They realistically mimic traditional brickwork, ensuring that any property can retain the heritage charm brickwork can provide. Brick Slips are incredibly simple to work with and easy to handle given their light weight. They can also be used internally or externally, making them an incredibly versatile product.
The brick slip system can be installed on mixed masonry, insulated and/ or a modern method of construction substrate., e.g., light steel frame, timber frame, etc.
Please ask the Technical Team for a detailed site-specific specification
Step 1 – Prepare the substrate
Ensure the substrate is clean, dry, and dust-free before applying EWI Pro’s specialised Brick Slip Adhesive. You can use Universal Primer to ensure the substrate’s absorption level is harmonised.
Step 2 – Starter Track Installation
The starter track is attached to the bottom edge of the sheathing board. This not only provides a level surface for easy installation of the insulation, but it also protects the base of the insulation against weather, dampness and other damage.
We offer either an uPVC starter track or an aluminium starter track. The uPVC starter track is our premium product and helps minimise thermal bridging. The aluminium starter requires a clip-on profile, which provides a mesh layer that helps tie the starter track together with the insulation when the reinforcement layer is added. For A1 systems, we would consider working with the project improver and specifying the stainless steel.
Both starter tracks are fixed to the substrate self-drilling screws, fixed at 300mm centres to ensure the starter track is held securely in place.
Step 3 – Preparing the Board Adhesive
Once the starter track is in position, you will need to start fixing the insulation boards to the substrate.
You can use the EPS, Mineral Wool or K5 insulation boards. They are attached to the substrate with one of our adhesives. We always recommend using EWI-225 Premium Basecoat as the adhesive as it has the highest bonding strength.
EWI-225 comes as a dry mix in 25kg bags and should be combined with clean water at a ratio of 6.5 litres per 25kg bag. To do this, use a heavy-duty power plaster mixer on a slow rotating setting. Freshly mixed adhesive should be left for approximately 5 minutes and then re-mixed for a short period of time before use. Bucket life is approximately 1 hour, although this is dependent upon the weather conditions.
We recommend applying the adhesive onto the insulation boards either using a notched trowel to apply a layer of the adhesive to the entirety of the insulation board or using the adapted ‘dot-n-dab envelope’ method. The adapted dot-n-dab envelope method applies the adhesive to the whole perimeter of the board with 3 dots in the middle. This will provide an airtight finish.
The amount of adhesive used by either of these methods should be approximately the same. Each 25kg bag should be able to mount approximately 4-5m2 of boards to the substrate.
Step 4 Applying the Insulation to the Substrate
The insulation boards should be attached to the wall in a staggered formation. At the corners, it is important to interlink the insulation from the two sides.
When installing insulation around window and door openings, it is important that the joints between boards are not in line with these openings. This will prevent cracks from appearing in the future.
Also, when the insulation is installed, you must use mesh off-cuts (350mm x 250mm) and fix them to the substrate at 45 degrees to the openings.
As a general tip: ensure the boards are aligned correctly both horizontally and vertically, with no gaps. This is best achieved using a spirit level.
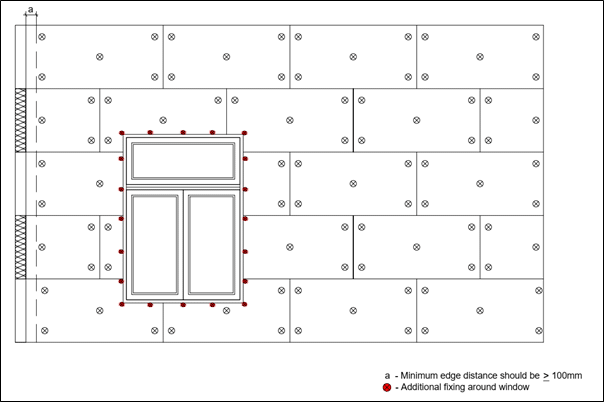
Step 5 – Mechanical Fixings through the boards
All our insulation systems require the use of mechanical fixings as an additional method of tying the insulation to the substrate. The mechanical fixings help to ensure a completely secure system. Installation of the fixings should take place at least 1-2 days after the insulation boards have been attached to the substrate with the adhesive.
Follow the specification or the product purchasing instructions as to the appropriate mechanical fixings. Note: The fixing type will vary on the substrate.
Each 1200 x 600 board is attached to the sheathing board using the domino pattern of 5 fixings per slab. Around windows, additional fixings are used to reinforce these areas.
Step 6 Applying the Fibreglass Mesh
Mix up EWI-225 Premium Basecoat. It should be mixed with clean water at a ratio of 4.8 – 6.3 litres / 25kg bag. The compound should be mixed using a heavy-duty power plaster mixer or paddle mixer in a slow-rotating setting. Freshly mixed compounds should be left for approximately 5-10 minutes and then re-mixed for a short period of time before use. Bucket life is approximately 2 hours (at 20oC), although this is dependent on weather conditions.
Fix all the necessary system beadings:
- Stop beads attached at the end of the wall substrate, parallel to the adjacent property.
- Corner/ angle beads attached at corners and openings.
- Expansion joints are fitted as specified.
- Install the corner drip bead on the window and door heads (optional).
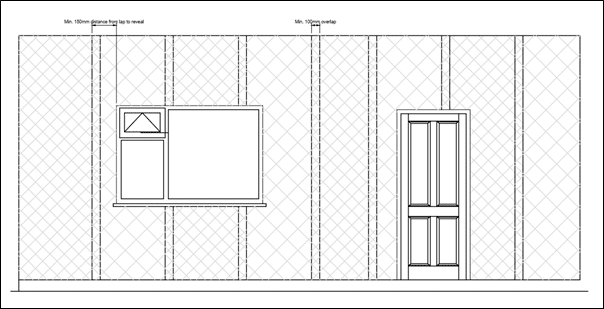
The basecoat is applied with a notched trowel to the top of the substrate – this layer needs to be 3-4mm at this stage. The mesh is then placed onto the basecoat (top-down) in vertical strips and embedded into the adhesive using the flat edge of the notched trowel. Each vertical strip of fibreglass mesh should overlap its neighbouring vertical strip by approximately 100mm.
Finally, apply another 1-2mm of basecoat on top of the substrate to fully cover all the exposed mesh and to ensure this reinforcement layer sits in the final third of this build-up. The fibreglass mesh needs to sit close to the surface to be able to handle the building undulations.
The applicator may use a spatula trowel to achieve a nice and smooth finish.
Allow for the basecoat layer to fully dry out before attempting to install any brick slips.
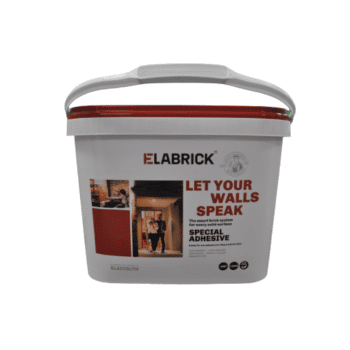
Step 7 – Brick Slip Adhesive
The Brick Slip Adhesive comes as a powder and is prepared by adding water to it. Once it has been mixed according to the instructions on the back of the bag, then it should be extremely easy to apply.
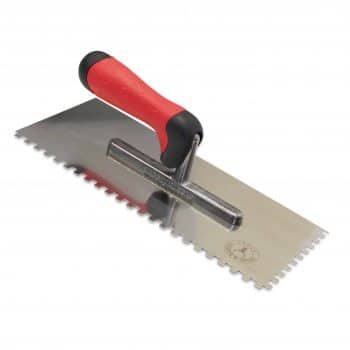
The adhesive should be applied with a notched trowel onto the prepared substrate so that the adhesive sits on the surface ready for the brick slips to stick to it (2-3mm build-up). Depending on the weather conditions, it should not be applied to large surfaces in one pass to prevent a film from forming.
Whilst the adhesive is wet on the substrate, the back of the brick slip should also be covered with adhesive using a toothed trowel, and then stuck on the surface adding some force so it is embedded into the build-up. The adhesive at the joints should be smoothed off with a slightly damp brush.
Step 8 – Applying Brick Slips
The base layer of adhesive should be approximately 2-3mm thick which is then used to embed the Brick Slips fully. We also recommend covering the back of the Brick Slips with adhesive to ensure total adhesion across the whole area of the product. If you have any reservations about the coverage, remove one of the Brick Slips and examine the coverage on the back of it. If there are any gaps, use more adhesive to fill them in.
The Brick Slips are fixed to the wall in a staggered formation, much like traditional brickwork, with a 10mm gap between vertical and horizontal bricks.


Step 9 – Spacing and corners
Setting out the gap of 10mm between Brick Slips is crucial and can be achieved with a 10mm UPVC edge profile. Utilising this ensures that the finished façade looks consistent.
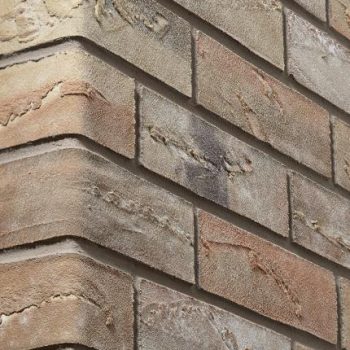
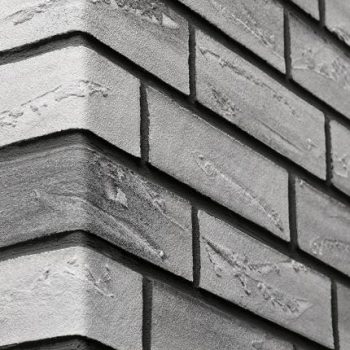
The Flexibricks name suggests precisely the benefit of Brick Slips. They can be shaped and bent around corners with minimal fuss. They can also be cut with scissors, reinforcing their ease of use.
Step 10 – Grouting & Finishing
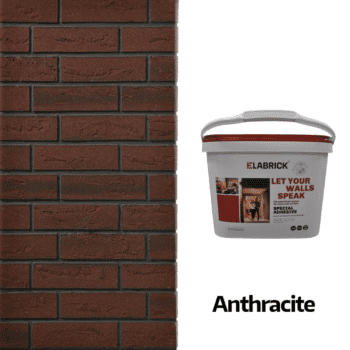
For the last step, you will require the Brick Slip Grout. Coming in four different colours (white, creme, grey, graphite), the grout is ideally suited to deliver the aesthetic appearance of your facade.
The grout itself comes in a powder format and is made ready by adding water to it. Follow the instructions on the back of the bag to achieve an even and consistent mix.
Press the grout evenly and with slight pressure with a jointing trowel, then smooth it out evenly. Vertical joints can be finished with a short jointing trowel.
Note: Do not smooth the grout several times as it can result in a glazing gloss. Once set, remove any residue with a brush. During work and up to 48 hours after application, the wall must be protected against sunlight, rain and wind.
